
Table of Contents
Introduction
Mushrooms are a fast-growing crop that can be easily cultivated in small spaces, making them suitable for both rural and urban farming. Not only are they simple to grow, but they are also packed with essential nutrients, making them a healthy addition to any diet.
In recent years, the consumption of mushrooms has seen a significant increase in India. The Indian mushroom market was valued at approximately USD 1.18 billion in 2023 and is expected to grow at a compound annual growth rate of 12.7% from 2024 to 2030.
Oyster Mushroom (Pleurotus ostreatus) is one of the most popular types of mushrooms consumed in India. It is Commonly known as Dhingri in India. Awareness about the health benefits of oyster mushrooms has been steadily increasing in the past few years, resulting in higher demand. Oyster mushroom farming can be a profitable venture, and it is easy to start due to low investment requirements and ease of cultivation.
Are you planning to start Oyster Mushroom Farming? If yes, then read this blog to learn the complete process of oyster mushroom farming—from procuring spawn to harvesting.
About Oyster Mushrooms
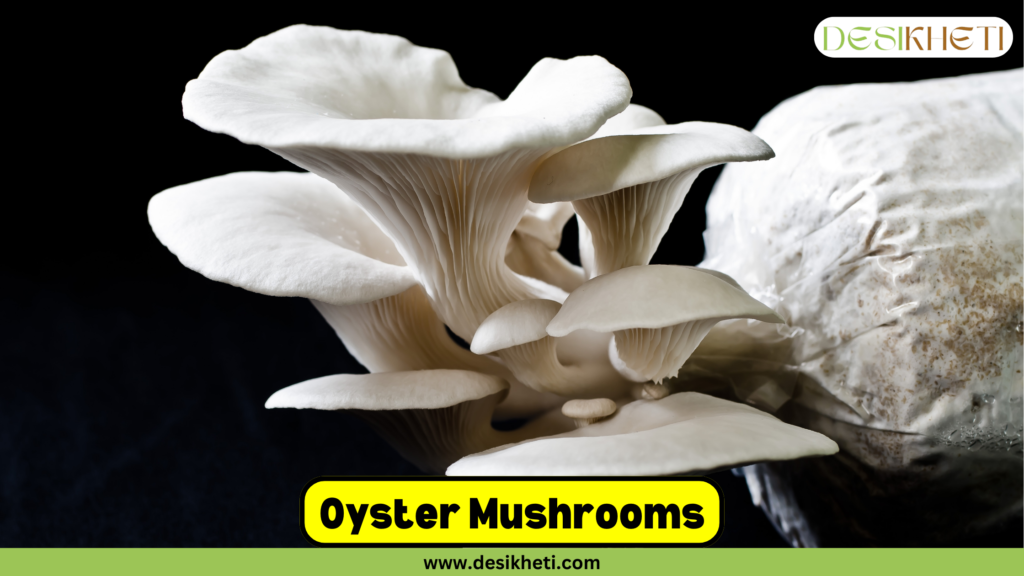
There are around 40 different varieties of oyster mushrooms, each offering unique health benefits and culinary uses. Except for two species, most oyster mushrooms are edible. They can be used in a variety of dishes, such as soups, stir-fries, and curries, and are widely incorporated into cuisines like Korean, Japanese, and Chinese.
Oyster mushrooms are rich in antioxidants, vitamins (including A, B3, B5, B6, and D), and minerals such as potassium, iron, phosphorus, and zinc. They are also believed to promote heart health by reducing bad cholesterol levels and play a role in regulating blood sugar levels.
Steps for Oyster Mushroom Cultivation
Site Selection
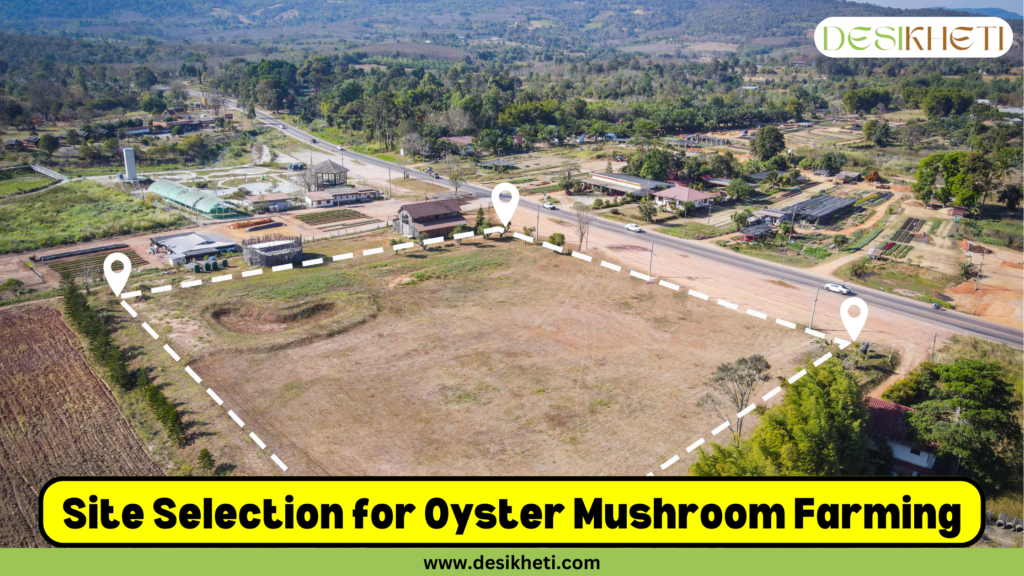
Oyster mushrooms are simple to grow and don’t require a high-tech setup. You can cultivate them indoors in any well-ventilated room. Even a thatched shed with a basic false roof works perfectly fine for growing these mushrooms. Approximately 1200 to 1500 ft is sufficient for a small farm.
Ideal Growing Conditions
Oyster mushrooms grow best in temperatures between 20°C and 25°C, with humidity levels of 80–85%. If the temperature in your area naturally stays within this range, you’re good to go. However, if the weather fluctuates, you might need an air conditioner to maintain the right conditions.
Humidity can be managed by spraying water manually with a sprayer or using a humidifier for more consistent control.
Materials Required
- Farm waste for substrate
- Water Drums
- Polythene sheets
- Gas stove/Autoclave/Chemicals for sterilization
- Polythene covers
- Spawn
- Racks or Ropes for arranging beds
- Packaging materials
- Water sprayer
Procurement of Spawn
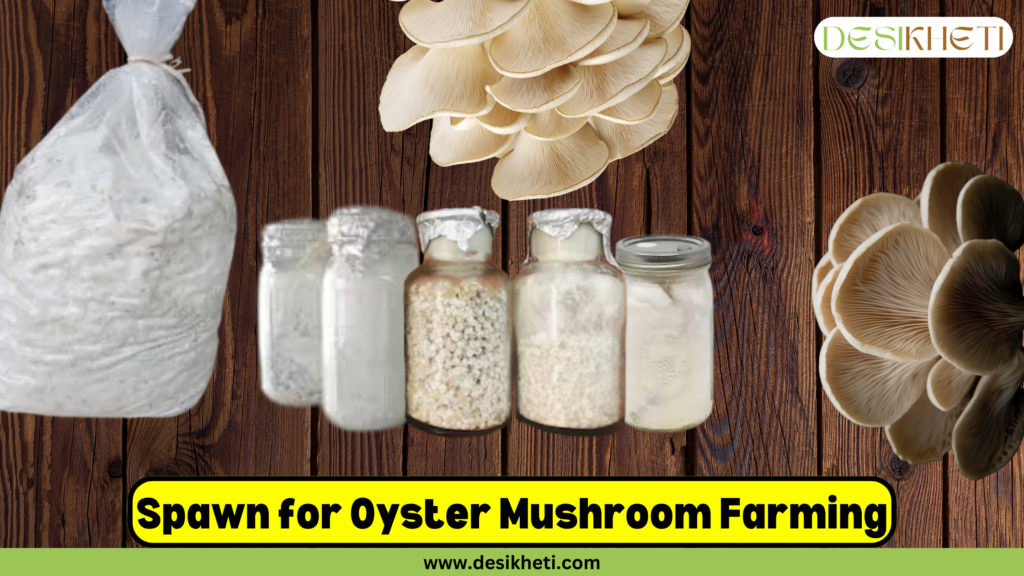
Spawn is the seed material used for mushroom cultivation. In simple terms, spawn is like the seeds used to grow plants. However, instead of seeds, it consists of a carrier material (like grains, sawdust, or straw) that has been colonized by mushroom mycelium (the vegetative part of the fungus). For example, if you want to grow oyster mushrooms, the spawn will contain oyster mushroom mycelium that is ready to grow when placed in the right conditions.
Spawn can be sourced from both government and private suppliers. Well-known institutions like the Directorate of Mushroom Research, the Indian Institute of Horticultural Research, and other agricultural research institutes offer high-quality spawn. You can also purchase spawn from local private suppliers, depending on your convenience and preference. It’s essential to ensure that the spawn you select is of good quality, as this plays a crucial role in the success of your mushroom cultivation.
Preparation of Substrate
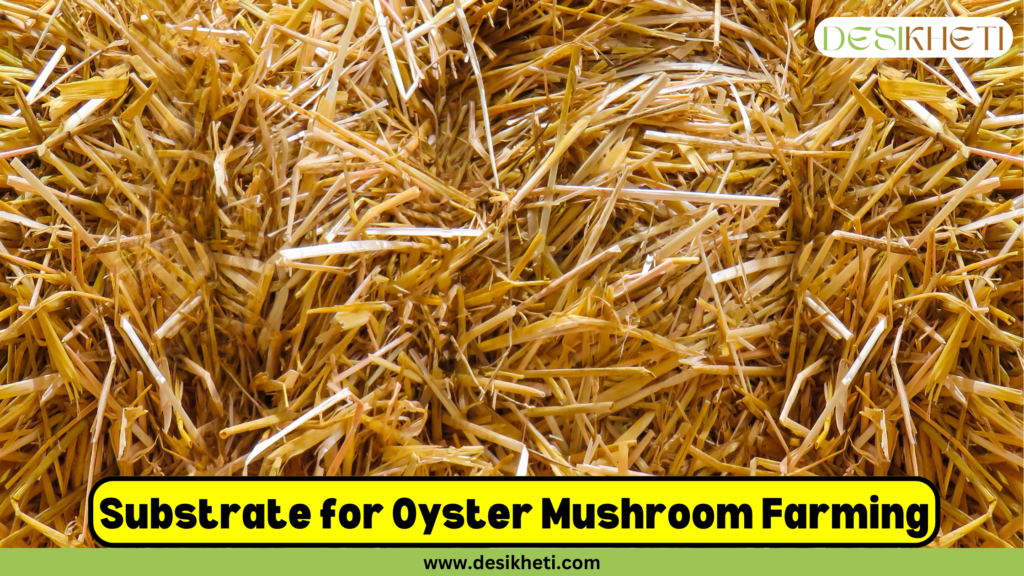
In mushroom farming, the substrate is the material that serves as food for the mushrooms to grow. For example, paddy straw, corncobs, bagasse, etc., can act as a substrate. These materials provide the nutrients and structure that mushroom mycelium needs to thrive.
Farm waste is suitable for growing oyster mushrooms, and you can use materials such as paddy straw, corncobs, bagasse, banana leaves, or even leaf litter, depending on what’s available. Among these, paddy straw is considered the best for producing a healthy crop of Oyster mushrooms.
To prepare the substrate, start by chopping the farm waste into smaller pieces. For instance, paddy straw should be cut into pieces about 2–3 inches in length to make it easier to handle during the cultivation process. Once chopped, the substrate is ready for the sterilization process, which ensures a clean environment for the mushrooms to grow without contamination.
Sterilization of Substrate
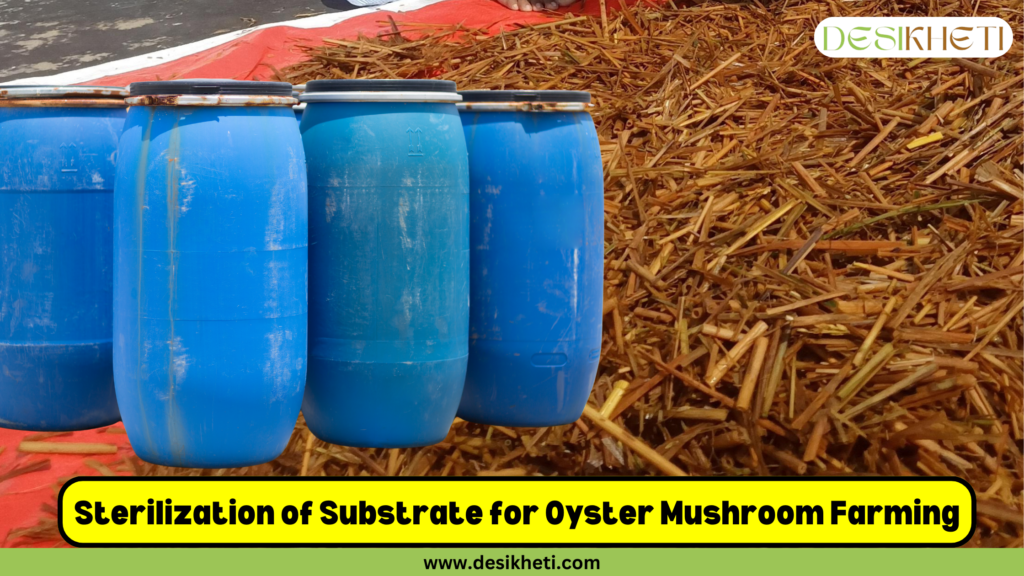
Sterilizing the substrate is an essential step in the oyster mushroom cultivation process. It eliminates harmful bacteria, fungi, and other microorganisms that could interfere with the growth of the mushrooms, ensuring that only the oyster mushrooms thrive. There are two primary methods for sterilizing the substrate:
- Hot Water Treatment
- Chemical Treatment
Hot Water Treatment
In this method, first, soak the chopped paddy straw in cold water for 4 hours. After soaking, drain the water and replace it with fresh water. Place the straw in a vessel and boil it over a flame for 1 hour to ensure it is properly sterilized. If you have an autoclave, you can steam the straw for the same duration. Once the straw has been boiled or steamed, drain any excess water. Spread the straw in a thin layer on a clean cloth or polythene sheet and allow it to dry in the shade until it reaches 60–65% moisture content.
Chemical Treatment
Alternatively, you can use a chemical treatment to sterilize the substrate. Mix 10 g of carbendazim and 120 ml of formalin in 100 liters of cold water. Soak 10 kg of dry straw placed in a bag in this solution and cover it tightly to make it airtight. Leave it to soak for 16 hours. After soaking, remove the straw and drain the excess chemical solution. Spread the straw in a thin layer on a disinfected cloth or polythene sheet, then let it dry in the shade until it reaches 60–65% moisture content.
Important Tips for Sterilisation
Be sure that the cloth or polythene sheet used for drying the substrate is disinfected with a solution like Dettol to avoid contamination. To check if the moisture content is right, take a handful of straw and squeeze it tightly. The straw should feel moist, but no water should drip out. Your palm should feel damp when holding the straw.
Bed Preparation
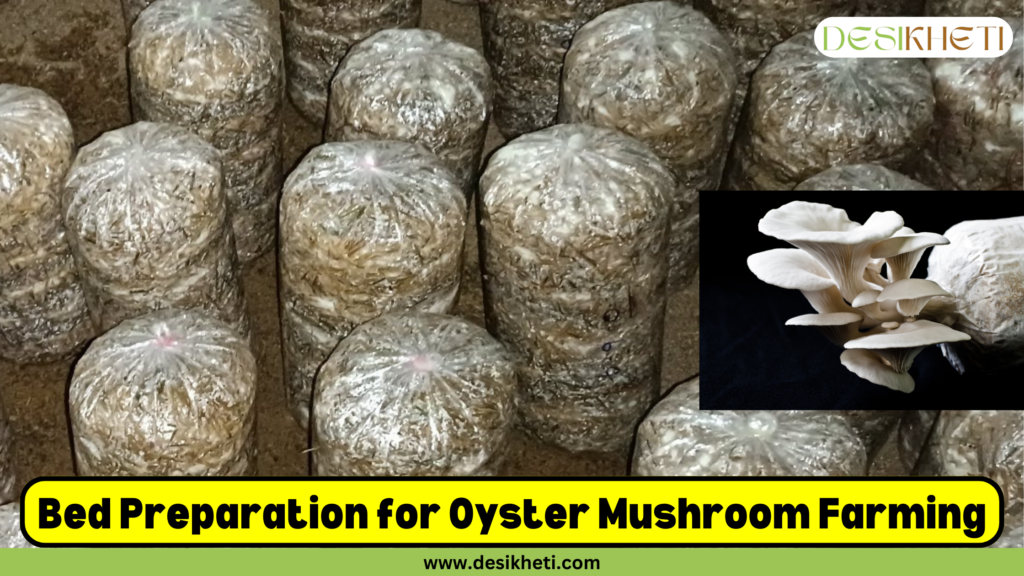
In mushroom farming, a bed refers to the structured arrangement of the substrate and spawn in layers, usually inside a container like a polythene cover or tray. Think of it as a “home” for the mushrooms where they can grow. For example, if you’re using a transparent polythene cover, it becomes the housing for the layers of straw and spawns that make up the bed.
The cultivation of oyster mushrooms is usually carried out in transparent polythene covers. The size of the cover should be 60 x 30 cm, with a thickness of 80 gauge. Begin by washing your hands thoroughly with an antiseptic lotion to prevent contamination. Tie the bottom end of the polythene cover with a thread and turn it inwards.
Mix the dried straw thoroughly to achieve uniform moisture in all areas. Take around 150 to 200 g of well-grown spawn for a bag. Add a 3-inch layer of straw to the bottom of the polythene bag. Then, take a handful of spawn and sprinkle it over the straw layer, concentrating more on the edges. Add a second layer of straw, about 5 inches high, and spawn it in the same way. Repeat this process to create five to six layers of straw with spawn.
Gently press the bed to compact it slightly, and then tie the top of the cover tightly with a thread. Use a needle to prick small holes randomly around the polythene cover for ventilation. You can prepare multiple beds this way, depending on the materials available.
Arrangement of Beds for Spawn Running
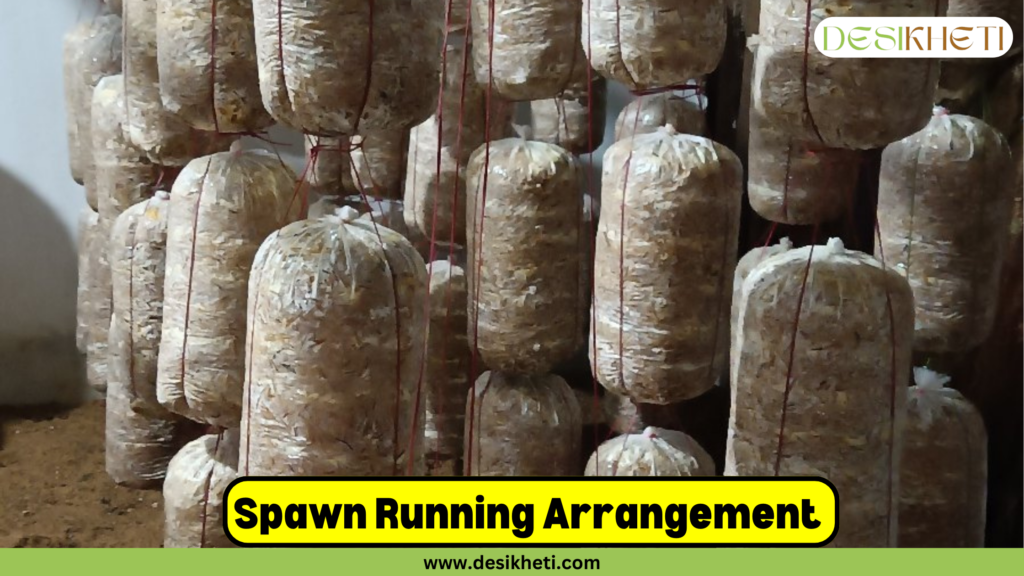
Spawn running is the stage in mushroom cultivation where the mushroom mycelium (the fungal network) grows and spreads throughout the substrate. Think of it as the mushrooms’ way of setting up their roots before they start producing the actual mushrooms. This stage is crucial because healthy and complete spawn running leads to a good harvest.
To ensure effective spawn running, the beds need to be arranged in a dark room, as darkness helps speed up the process. You can either place the beds on racks or use a hanging system, as shown in the image below. Ensure the racks are tall enough to comfortably accommodate the beds without compressing them, allowing proper airflow and space for growth.
Before placing the beds, sterilize the racks with a disinfectant, such as Dettol, to maintain cleanliness and reduce the risk of contamination.
The room temperature should be maintained between 22–25°C, and the relative humidity should be around 85–90%. It’s important to sprinkle water on the sand layer periodically to keep the moisture levels high. Monitor the beds daily for any signs of contamination. If contamination is detected, promptly remove and destroy the affected beds to prevent it from spreading.
Additionally, check regularly for insect pests like flies, beetles, and mites. If you notice any, spray a pesticide such as Malathion in the room, using 1 ml per litre of water. However, avoid spraying the pesticide directly on the mushroom beds. Watch for rats in the room and set up rat-baiting traps to control infestations.
The Spawn running process typically takes 20 to 30 days to complete. Once the spawn has fully colonized the beds, they can be moved to the cropping room to initiate the formation of mushroom buttons.
Shifting Oyster Mushroom Beds to the Cropping Room
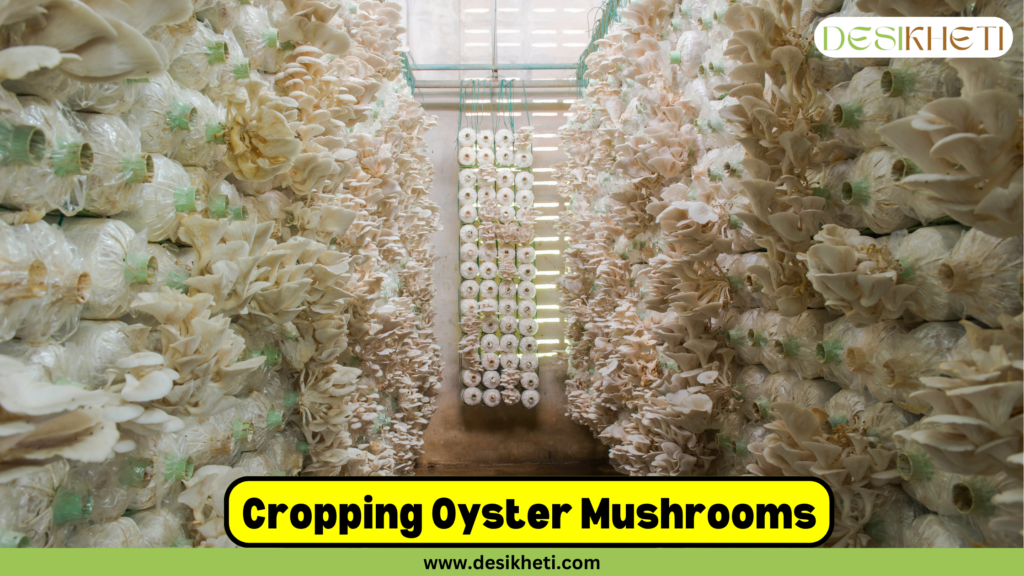
In the cropping room, it’s important to maintain diffused light and good ventilation to promote the development of mushroom buttons.
There are several methods for handling spawn-run beds to trigger button formation:
- Open Bed Method: The polythene cover is completely removed, leaving the bed open for cropping.
- Closed Bed Method: The polythene cover remains intact, and mushroom buttons grow through the holes pierced in the cover.
- Half-Cover Open Method: One-half of the polythene cover is removed for cropping, and the second half is removed after the first harvest.
- Stripe Method: The polythene cover is cut into longitudinal strips at 4–6 places on the bed.
Among these methods, completely removing the polythene cover has been found to yield the best results.
To begin, carefully cut the polythene cover using a new blade based on the method you have selected. After cutting, allow the bed to dry for a day, as freshly opened beds tend to have higher moisture content. From the second day onward, spray water on the beds using a sprayer. Depending on the weather conditions, spraying two to three times a day should be sufficient. Ensure that the beds do not dry out completely
Monitor the beds closely and promptly remove any signs of contamination. Within two to three days of opening the beds, you should start seeing pinheads (tiny mushroom buttons). These will be ready for harvest in another 7 to 10 days.
Harvesting Oyster Mushrooms
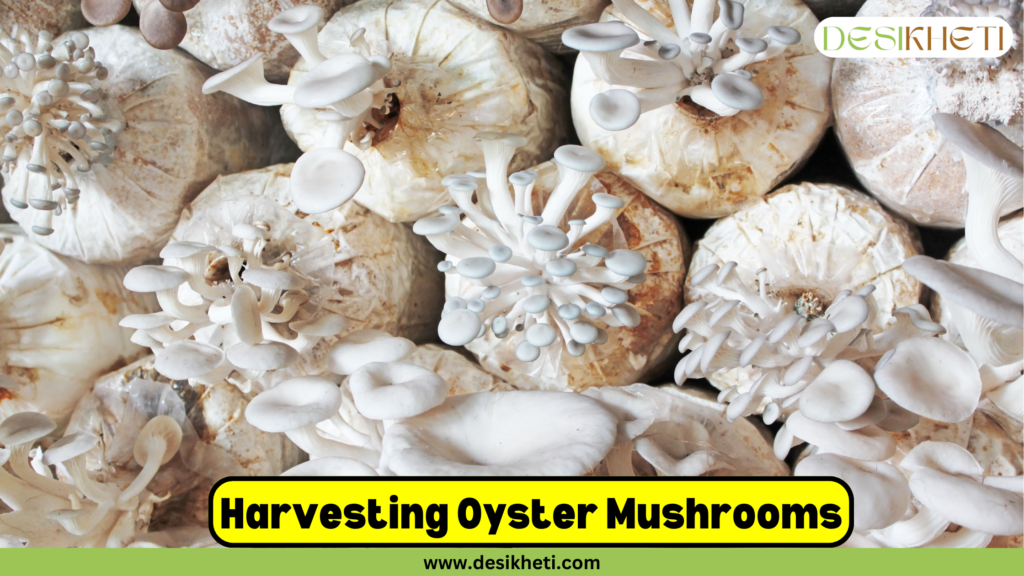
Harvest the entire bunch of mushrooms gently in the early morning. Remove any straw bits adhering to the mushrooms and cut off the bottom portion of the stalk. After harvesting, scrape the mushroom bed with a new comb to remove dried and rotten mushroom buds.
Spray the beds daily, adjusting the frequency to the condition of the beds. Typically, two to three sprays per day may be needed. The second and third harvests can be done at 10 to 15-day intervals.
Dispose of the beds after the third harvest, as it becomes uneconomical to keep them beyond this point. It is best to harvest the mushrooms in the morning and pack them immediately.
Post-Harvest Handling of Oyster Mushrooms
After harvesting, it is important to pack the mushrooms carefully to maintain their freshness. Pack approximately 200 grams of mushrooms in each polythene bag, ensuring a few ventilation holes are created for air circulation. Place the packed mushrooms in an icebox and send them to the sales unit immediately.
If you plan to sell the mushrooms the next day, store them in the refrigerator to keep them fresh. Avoid exposing them to high temperatures, as this can cause browning and spoilage.
While consuming mushrooms fresh is ideal, it is not always possible. In such cases, pack freshly harvested mushrooms in polythene bags with 2–4 small pinholes. After packing, store the mushrooms at 5°C in a refrigerator. This helps extend their shelf life to 3–5 days by reducing their respiratory rate and preventing water loss. It also helps prevent browning and the development of off-flavours, ensuring the mushrooms remain in good condition for a longer period.
Sale of Oyster Mushrooms
Oyster mushrooms can be sold through various distribution channels. You can sell them directly at your company outlet or supply them to restaurants, supermarkets, caterers, and even households for daily cooking.
If your production is substantial, you can also explore the opportunity to export oyster mushrooms, tapping into international markets.
To boost sales, focus on marketing strategies that raise consumer awareness about the health benefits of oyster mushrooms. Additionally, good packaging, consistent production quality, and a reliable supply can help build trust with customers and ensure steady sales.
Advantages of Oyster Mushroom Farming
High Productivity – Oyster mushroom farming offers impressive yields. From just 1 ton of paddy straw, you can harvest around 500 to 800 kg of fresh oyster mushrooms within 45 to 60 days. This means quick returns and high productivity, making it a great option for farmers looking to maximize output in a short period.
Easy to Dry and Store – One of the biggest advantages of oyster mushrooms is their ability to be easily dried and stored. Dried oyster mushrooms have a longer shelf life compared to fresh ones. Once dried, they can be soaked in water for just 5 to 7 minutes before cooking, making them convenient for storage and use in a variety of dishes.
Low Investment – Oyster mushroom farming requires very little investment. Various types of readily available farm waste, such as paddy straw, corncobs, bagasse, banana leaves, and leaf litter, can be used as substrate. These materials are inexpensive and easy to source in India, making the farming process affordable for most people.
Less Competition – While button mushrooms are widely cultivated in India, oyster mushrooms are still relatively less common. However, there is growing awareness about the health benefits of oyster mushrooms, and many consumers are now preferring to consume a variety of mushrooms. This increase in demand, along with limited competition, creates an excellent opportunity to enter the market and generate profits.
Health Benefits– They are packed with antioxidants, vitamins (A, B3, B5, B6, and D), and essential minerals such as potassium, iron, phosphorus, and zinc. Oyster mushrooms are also known to promote heart health, regulate blood sugar levels, and boost immunity, making them a sought-after choice for health-conscious consumers.
Sustainability – Oyster mushroom farming is environmentally friendly. It helps recycle organic waste like paddy straw and corncobs, which would otherwise go to waste. This not only reduces landfill pressure but also helps in waste management. Additionally, oyster mushrooms require minimal chemical fertilizers and pesticides, making them a more sustainable and eco-friendly option for farming.
Export Potential – Oyster mushrooms are gaining popularity not only in domestic markets but also internationally. With the growing global interest in plant-based and organic foods, there is significant export potential for high-quality oyster mushrooms. This opens up opportunities for farmers to explore new markets and increase their profitability.
Minimal Space Requirements – Oyster mushrooms can be cultivated in small spaces, whether indoors or outdoors, and even on vertical racks. This makes them an ideal choice for urban farmers or anyone with limited space. Whether you’re farming on a small piece of land or in an urban setting, oyster mushroom farming can be set up with ease.
These advantages make oyster mushroom farming an attractive and profitable option for farmers, especially those looking for low-cost, high-reward farming practices. With growing demand and the potential for export, it’s a great opportunity for anyone looking to enter the mushroom farming business in India.
Common FAQs About Oyster Mushroom Farming
Q. How much area is required for oyster mushroom farming?
A. The exact area requirements depend on the production scale. Oyster mushrooms can be cultivated in anything from a small room to a large factory. Approximately 1,200 to 1,500 square feet is sufficient for a small farm.
Q. What temperature is suitable for the cultivation of oyster mushrooms?
A. A temperature of 20 to 25°C is ideal for the cultivation of oyster mushrooms.
Q. What relative humidity is required for the cultivation of oyster mushrooms?
A. A relative humidity of 80 to 85% is suitable for the cultivation of oyster mushrooms.
Q. What is the farming time for oyster mushrooms?
A. It takes around 45 to 60 days to produce oyster mushrooms from spawn. However, the exact time may vary depending on factors such as spawn quality, temperature, humidity, and farm management practices.
Q. How long does an oyster mushroom take to grow?
A. It typically takes around 45 to 60 days for oyster mushrooms to grow from spawn.
Q. How many times can I use mushroom substrate?
A. It is recommended to use the substrate for one bed and discard it afterward.
Q. What is the best substrate for oyster mushrooms?
A. Paddy straw is considered the most suitable substrate for growing oyster mushrooms compared to other types of farm waste.